
heatstitch in videos
19 short videos, 53 minutes in all. Each shows one way through the app and stands on its own. They are spoken in German, with English subtitles. The files from the videos can be downloaded in the player, to follow along.
Getting started
Where everything is, in three minutes. The other videos do not depend on it.
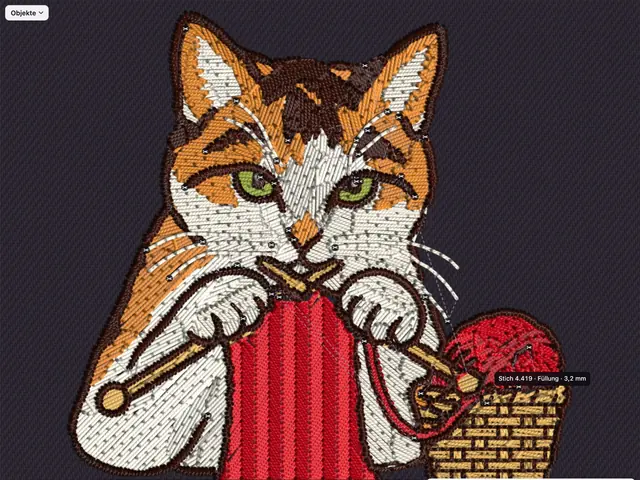
Make your own
From an empty hoop, from lettering or from a picture to a design of your own.
-
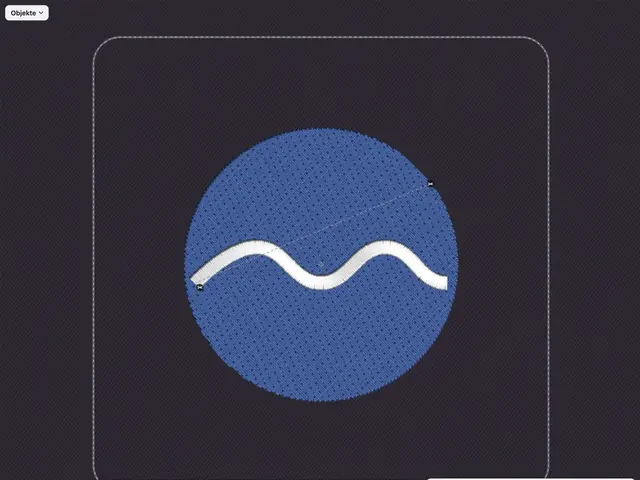
Part 1 A new embroidery design
You make your first design of your own, a round patch with a wave, from the empty hoop to the PES file.
-
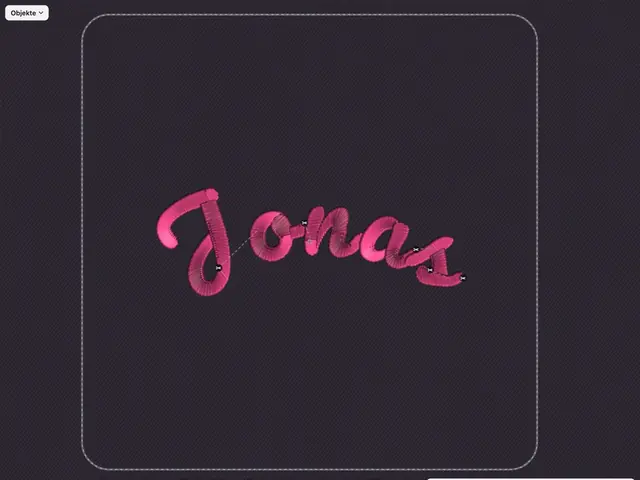
Part 2 Lettering
You set a name in an embroidery font, on an arc and in your thread color, and change it any time later.
-
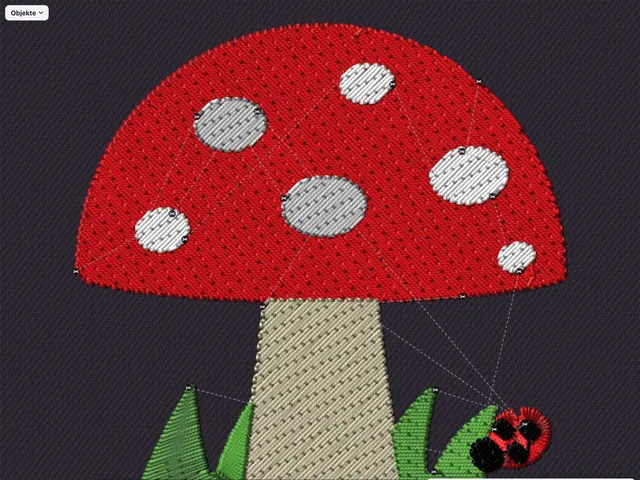
Part 3 From a picture to a design
You turn a photo or a graphic into a design: pick the colors, tidy the areas, choose a style.
-
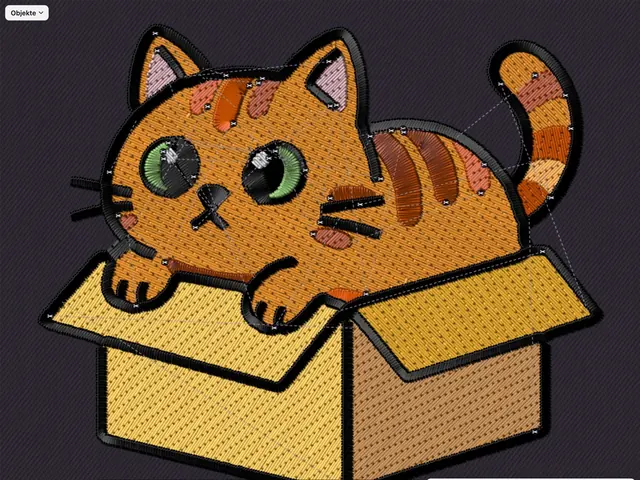
Part 4 From SVG to a design
You turn an SVG into a design with clean satin outlines and lay out their sections anew in the Direction tool.
-
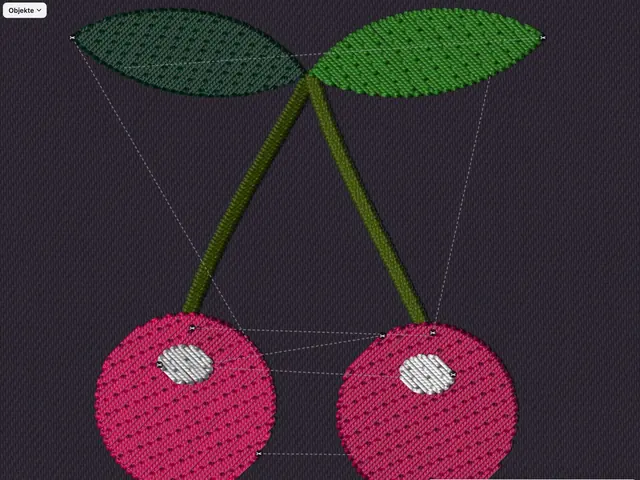
Part 5 Objects and sequence
You put objects in the right order, knock out overlaps, duplicate and mirror them, and give one object a thread of its own.
-
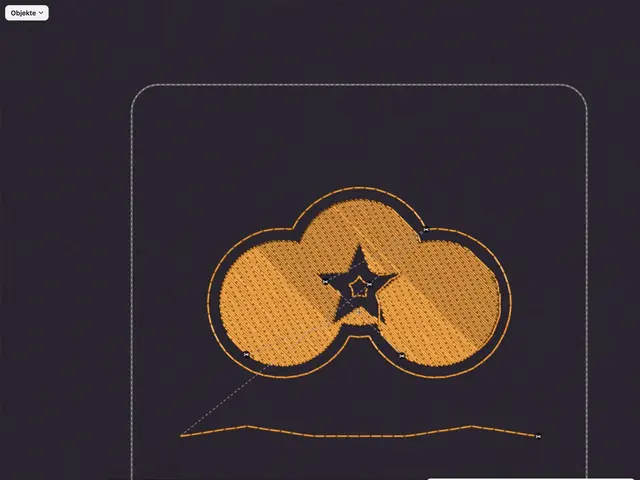
Part 16 Combining and cutting shapes
You combine shapes, cut one shape out of another, lay a contour around them, and join or split paths.
-
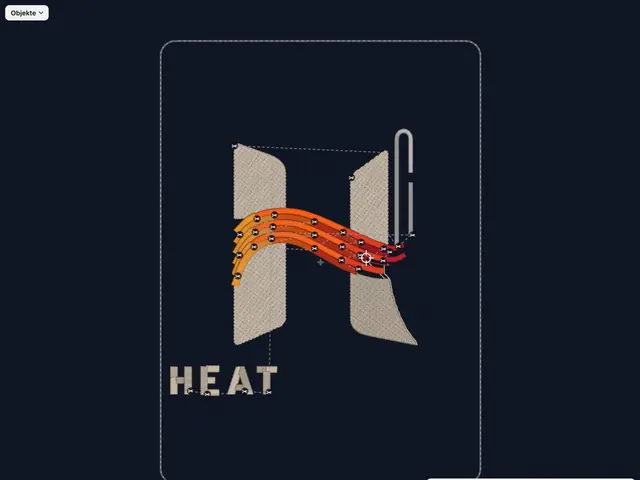
Part 17 Tracing a logo
You lay a picture underneath as a template, measure it and trace it as a design: fill with direction, lines, lettering.
View and improve an embroidery file
Open a finished file, check it, fix it and save it for your machine.
-
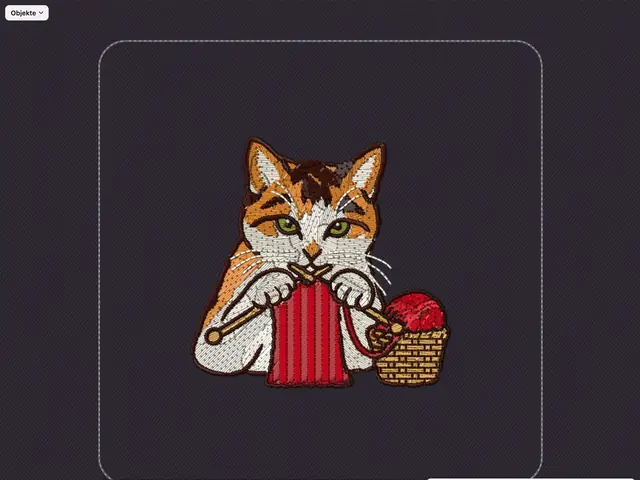
Part 6 Opening a finished embroidery file
You open a finished embroidery file, choose the hoop and watch how the machine sews it.
-
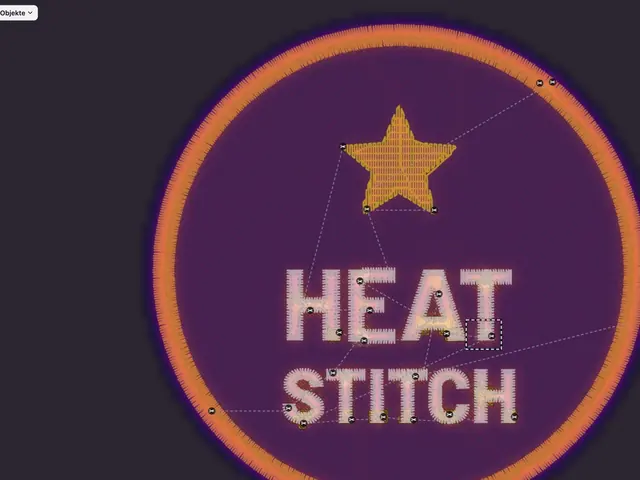
Part 7 Checking an embroidery file
Before the first stitch, you see whether a file works on your fabric and where it does not.
-
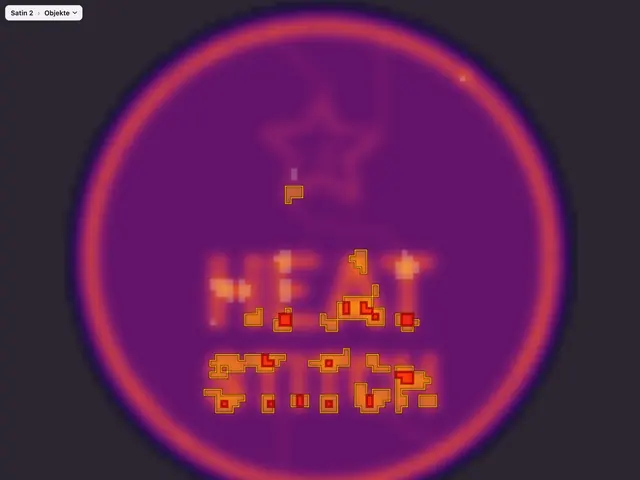
Part 8 Fixing and comparing
You let spots that are too dense be fixed, compare with the original and undo the correction if you like.
-
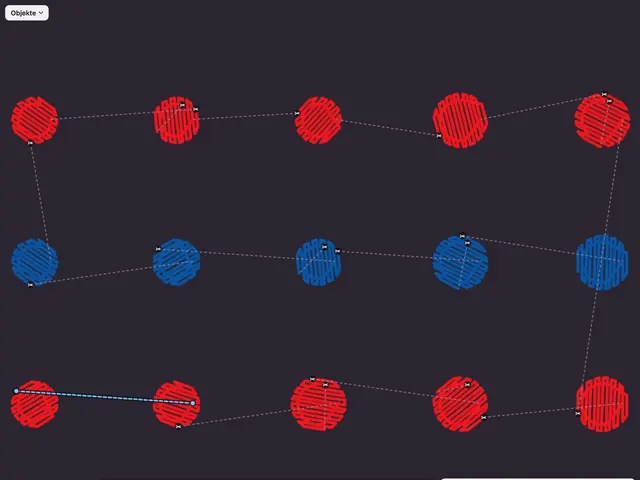
Part 9 Jumps and trims
You make sure long jumps are trimmed and shorten the travel with a better order.
-
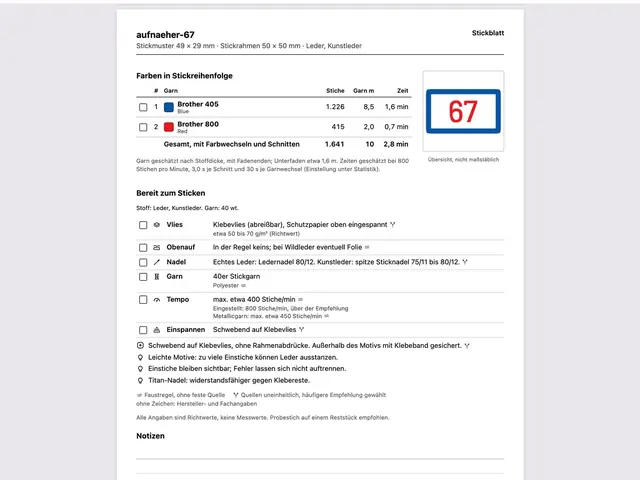
Part 10 Preview and saving
You see your design as if real on the fabric, get stabilizer and needle ready and save for your machine.
Fine-tuning
Fills, satin, lines, shapes and single stitches, exactly the way you want them.
-
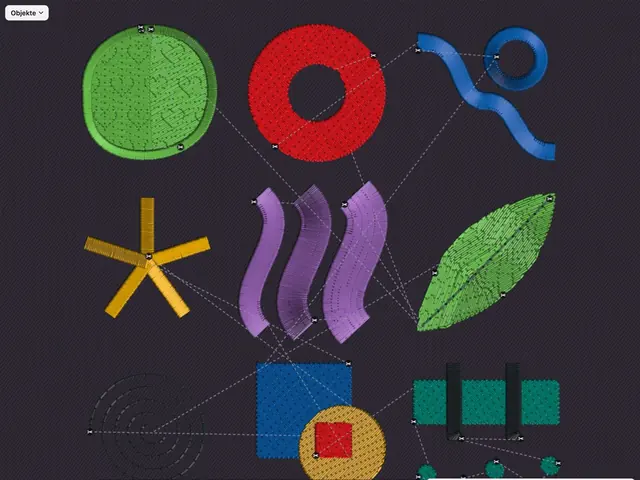
Part 11 Fills
You set the pattern, border and hold of a fill, split it and steer its rows with guide lines.
-
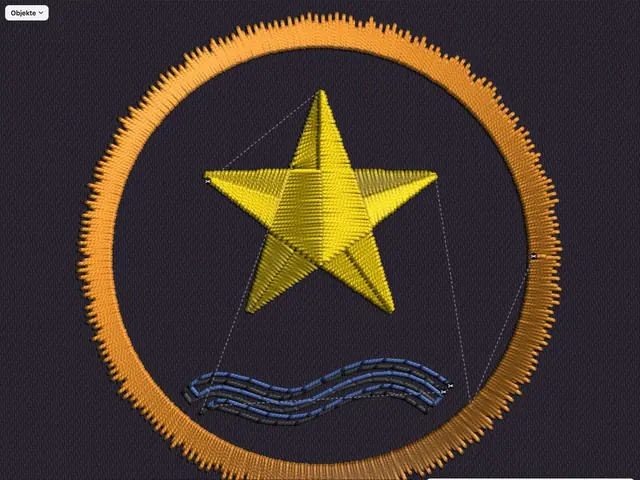
Part 12 Satin and lines
You turn a fill into shiny satin and give lines fringe, repeats, echo and shadow.
-
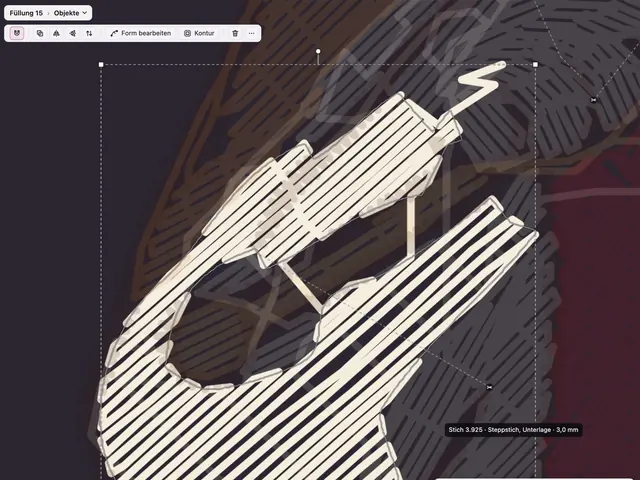
Part 13 Shape and single stitches
You change an object's shape at its nodes and add, move, extend and thin out single stitches.
-
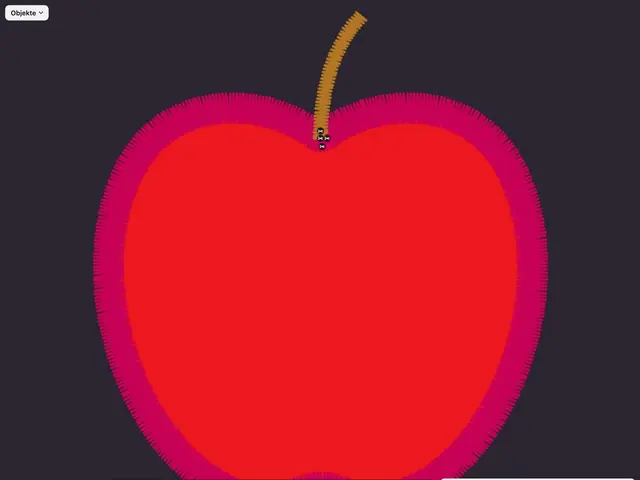
Part 14 Appliqué
You stitch an appliqué: placement line, lay the fabric on, tack-down, trim, edge.
-
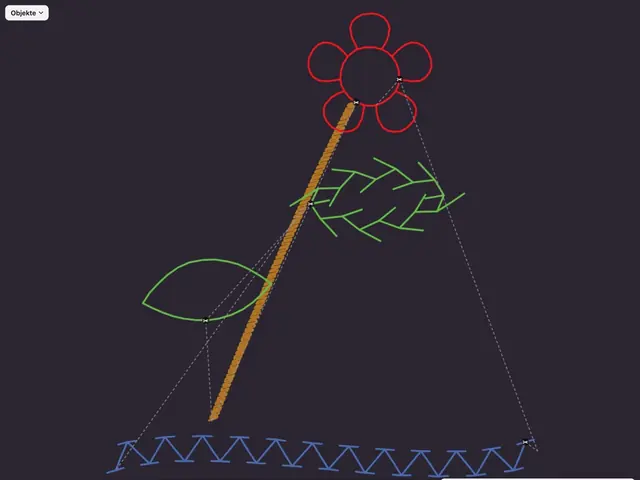
Part 15 Hand stitches and redwork
You give lines the look of handwork: stem stitch, feather stitch, cretan stitch, chevron, redwork without jumps and bean stitch on top.
-
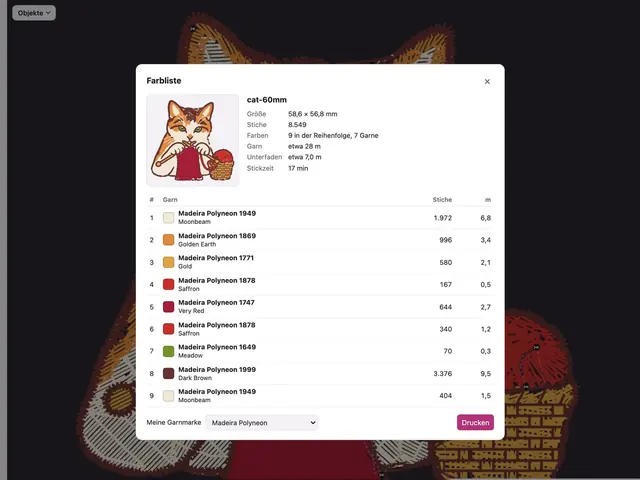
Part 18 Thread, fabric and color list
You set a design to your thread brand and fabric, swap a single thread, tune the settings to the fabric and print the color list.
Rather read? The guide explains everything step by step.